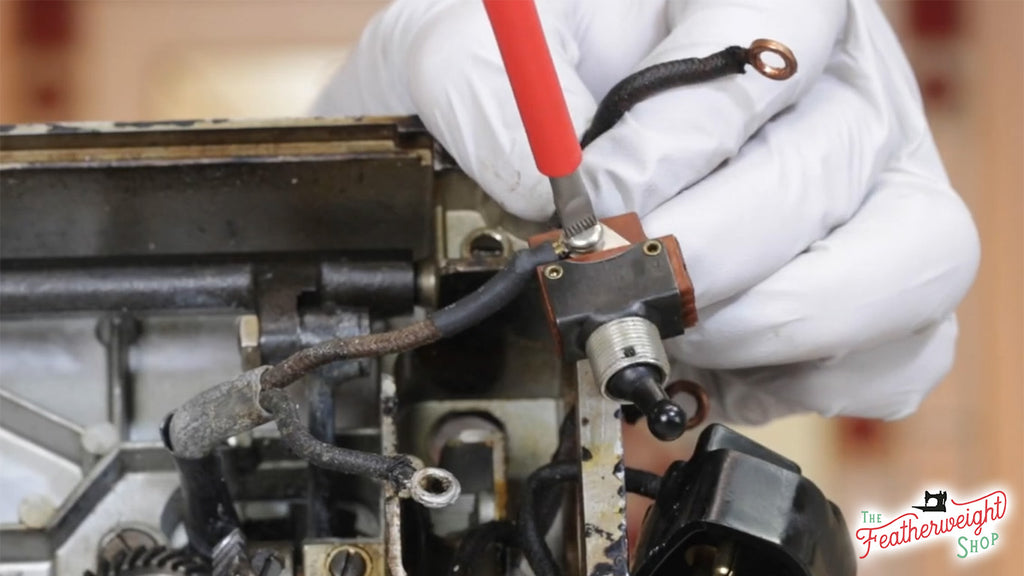
The light should only turn on and off with the flick of the switch, not the foot controller. So, if you press on the Featherweight foot controller and the light flickers off just as the motor runs, then there has been an inadvertent electrical reversal at some point in the machine's wiring history. Unplug your machine and watch the video tutorial above to learn the steps for proper Featherweight electrical connections. Just remember, if the machine is plugged in, it is considered on and ready to sew regardless of whether the light is on. The switch is only for the light,...
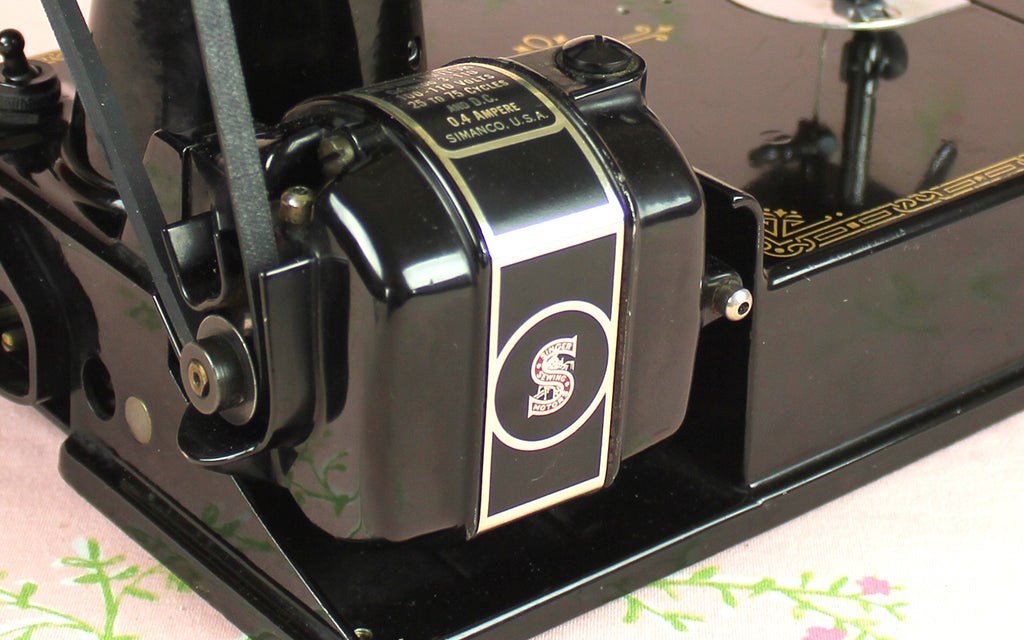
Vintage Singer Featherweight sewing machines are widely known for their straight stitches, speed, and reliability. But, as you sew, a sluggish or slow sewing machine is a sure sign that something is amiss. Fortunately, simple tools and a little Singer know-how can quickly remedy the most common causes of a slow motor. Today, we'll review these possible issues and how to solve them. Products Recommended:Singer Featherweight Maintenance HandbookThread Jam Removal ToolThread-O-StatSew-Retro Sewing Machine OilSuperbelt You may notice that your machine doesn't sew with as much vigor as it used to, or you may acquire a vintage Featherweight that sews with less gusto...
Many Featherweight owners send us their original Foot Controllers for rewiring. We offer this service for those who want to keep their Original Foot Controller and Bakelite plug but want it to be electrically safe. The video above demonstrates the process of rewiring an original Singer foot controller, plus, we now carry a kit including all the rewiring parts so that you can perform this DIY "do-it-yourself" repair at home. SUPPLIES AND TOOLS: The Featherweight Foot Controller Rewiring Kit Wera Screwdrivers: Mid-Length & Long Foot Controller Cushions Needle nose pliers Wire strippers Wire cutters Below are a few pictures and instructions from the...
Learn how to install the new replica badge for the White Singer Featherweight in this step-by-step video tutorial with Carmon from The Featherweight Shop. The original white Featherweight badges were a foil that was glued in place. The new Replica Red S Badge is a strong aluminum with a sticker-like adhesive. Follow the step-by-step tutorial in The Schoolhouse.Products Used in Tutorial:1) Acetone (fingernail polish remover)2) Cotton ball3) Replica White Singer Featherweight Badge (New Red S Aluminum Version or Gold Foil Version
Order the New Red S Replica Badge HERE
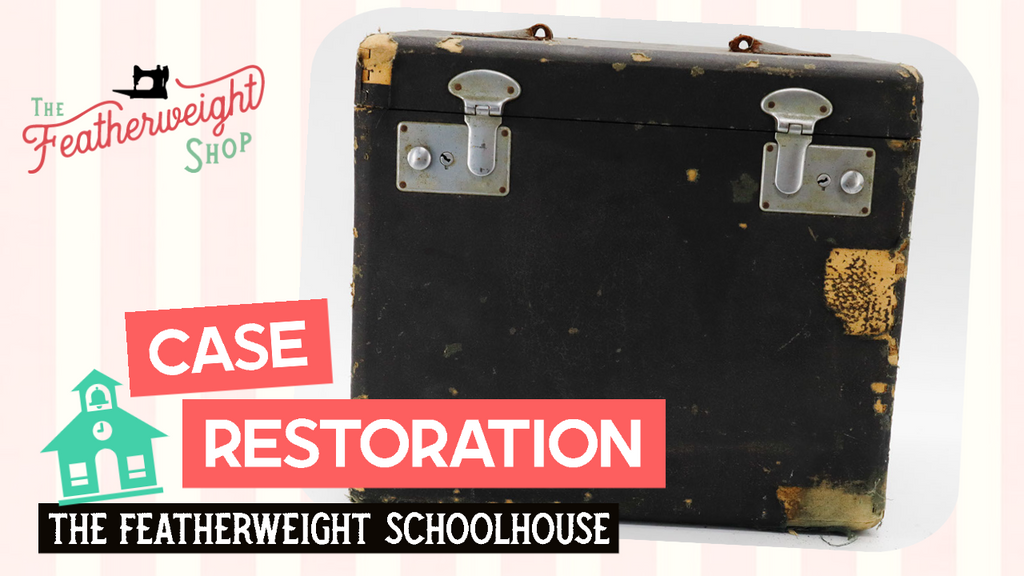
Welcome to the Singer Featherweight Case Restore Along! We are so excited to introduce this series, which takes an in-depth look at each of the steps of stripping down and restoring a Featherweight Case with Tolex and Fabric! Read Restore Along: Part 1 HERE Join us on Friday, February 26th as we begin the first step in the case restoration process! Just so you can be fully prepared to join in the fun, here is the products list that is used in Part 1:Restore Along Part 1 (2/26 Debut) Product List: White Vinegar - 2 Cups MinimumPutty KnifeRazor KnifeTray for...
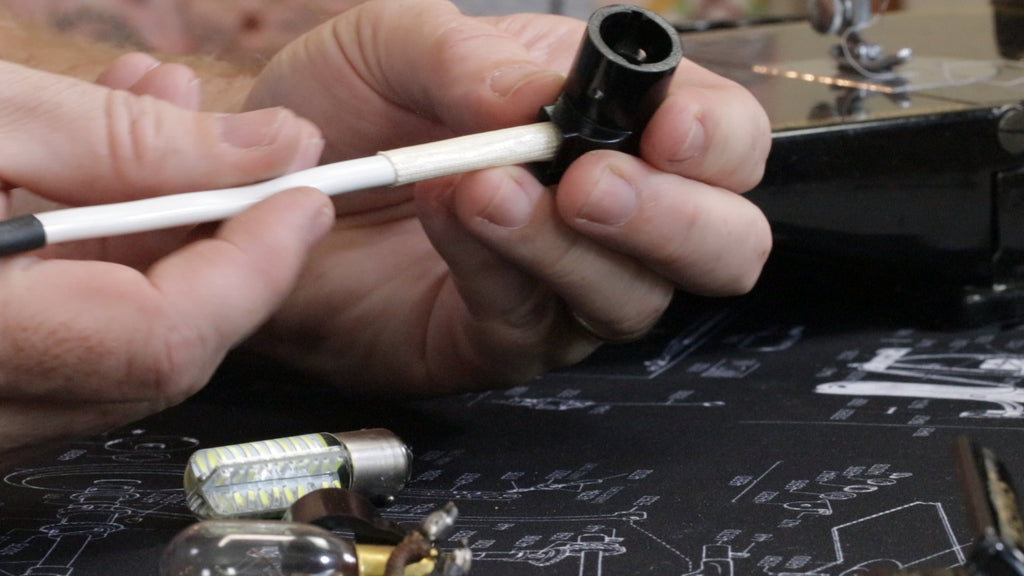
Featherweight Light Wiring Tutorial Series - Part 3 of 3 In Part 2 of the Light Wiring Series, we examined the light wires and followed a step-by-step process for repair. Today, in our final installment of the Light Wiring Series, we will discuss the causes as well as how to fix a faulty or flickering light bulb on a Singer Featherweight. Remember, this series is only for Singer Featherweight 221 machines manufactured in the US from 1933 to 1957 and for 221 Featherweight machines manufactured in the UK from 1947 to about 1951. Tools Needed or Recommended: Gloves Safety Glasses Wera...
Featherweight Light Wiring Tutorial Series - Part 2 In Part 1 of the Light Wiring Series, we did a basic cleaning of the light wiring lead sheath underneath the machine, which helps to remove some of the exposed oxidation residue that can build up over a long period of time. Remember, this series is only for Singer Featherweight 221 machines manufactured in the US from 1933 to 1957 and for 221 Featherweight machines manufactured in the UK from 1947 to about 1951 . On the topic of oxidation, sometimes that residue, or corrosion, is not just on the area seen underneath...
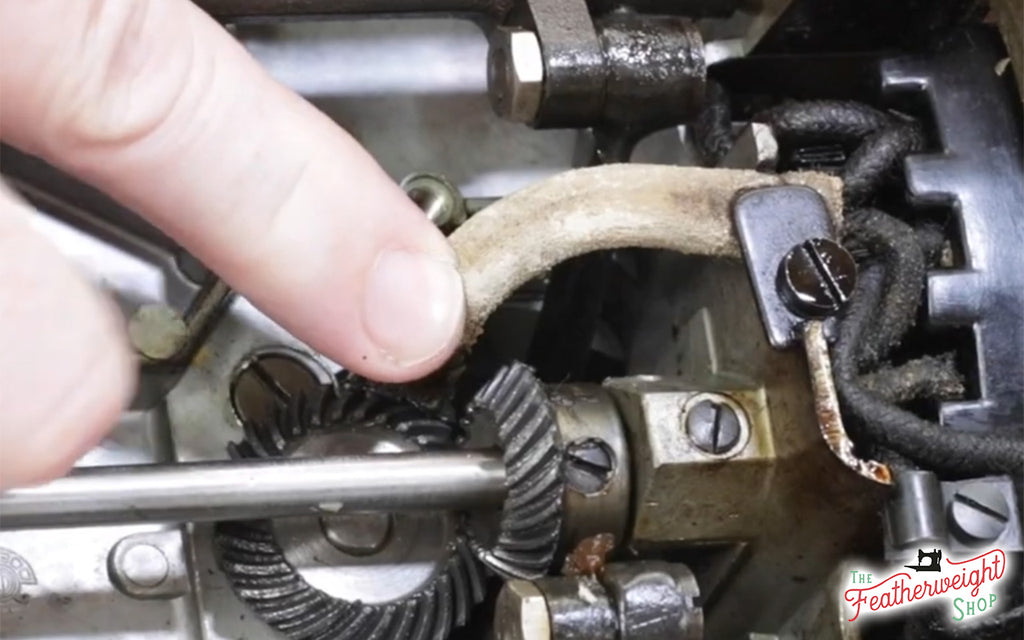
Part 1: A Tutorial on Cleaning the Lead Sheath on a Singer Featherweight 221. Products & Tools Referenced: Light Socket with Sheath Wera Safety Screwdriver (also available in the Set of 4) Gear Cleaning Brush Low Odor Kerosene and Long-Spouted Bottle Sew Retro Grease Small Terry-Cloth Towel (for scrubbing) Felt Drip Pan Large Towel or Shop Rag (for collecting kerosene drips and old grease) Gloves Mask Eye-Protection The lead sheath on Singer Featherweight 221 models (1933-1957 for US-made Featherweights and 1947-1951 for UK-made Featherweights) covers the light wires and often requires careful cleaning and maintenance if there is any white oxidation present. In...
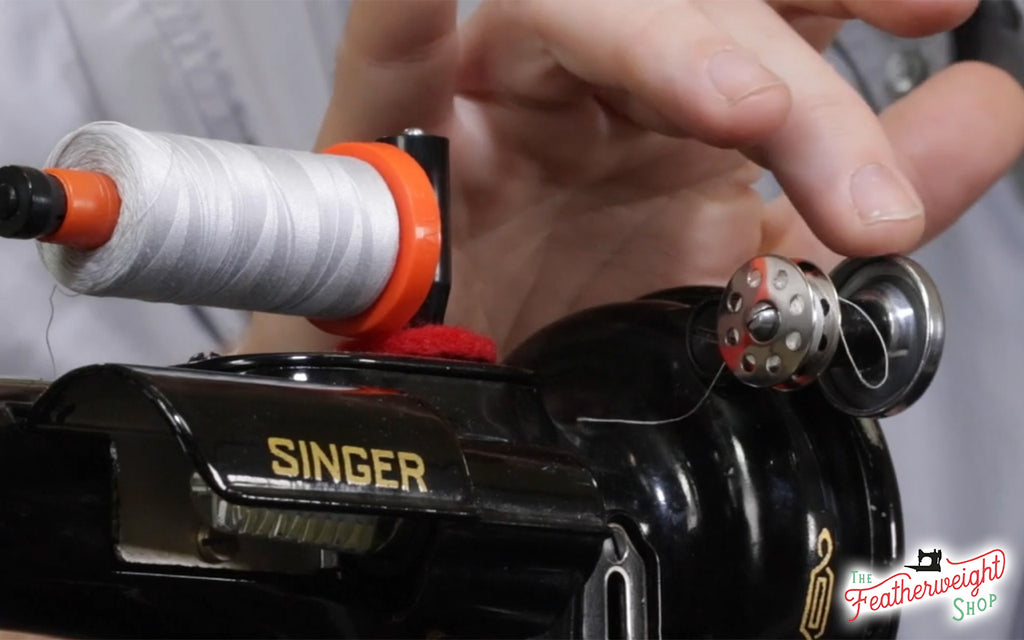
Do you have to hold the bobbin winder down in order to get it to wind? If so, then the washers around the bobbin winder screw either need replaced or turned around. Follow the video tutorial or step-by-step photo tutorial below to learn a few simple tips for servicing your Singer Featherweight Bobbin Winder. Relevant Parts and Products: Bobbin Winder Bobbin Winder Washer Bobbin Winder Screw Singer Featherweight Belt Bobbin Bobbin Tension Meter Bobbin Winder Tension Bracket Sewing Machine Oil Empty Oil Bottle (for easy use with kerosene) The cupped washer keeps consistent pressure on the bobbin winder arm, resulting in pressure...
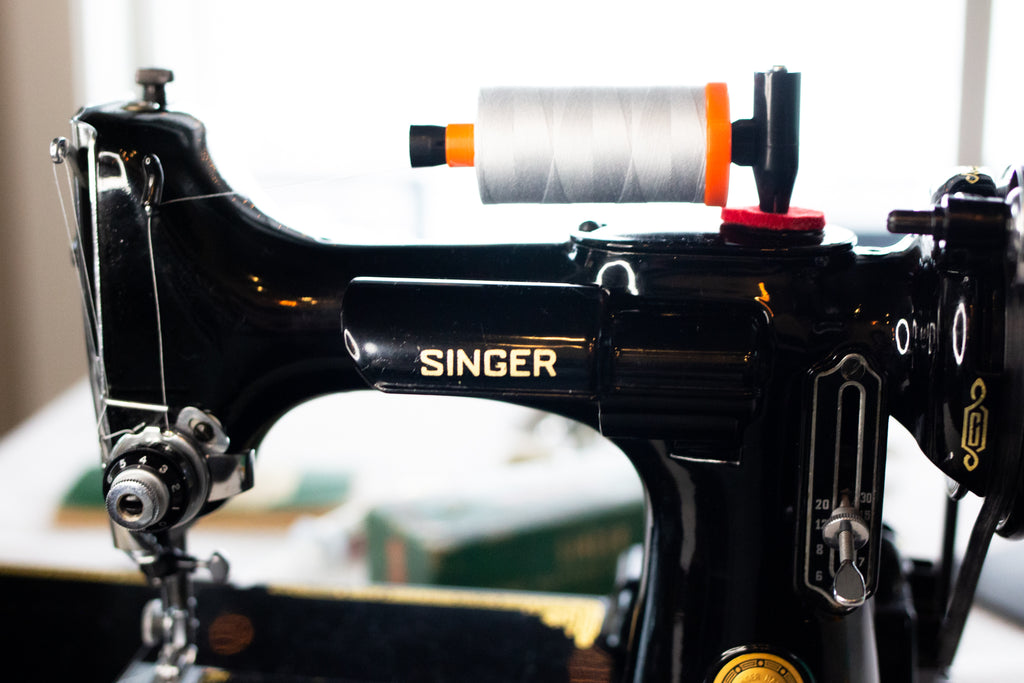
Welcome to the Getting to Know Your Featherweight Video Tutorial Series! Ruthie Henry demonstrates each step needed to get you and your Featherweight up and sewing in the seven part course! Starting from How to Thread Your Singer Featherweight all the way through Backstitching & Reverse Stitching, you will be a pro in no time! Below we have compiled a list of suggested items that will help every sewing novice on their journey as well as items that we demonstrate in the videos! Enjoy! Introduction Tutorial: How to Thread Your Singer Featherweight According to the manual, threading your machine is...