Welcome back to the Sew-In with Nathan and Sayley! I believe that learning and family time keeps the children grounded. The "sewing" days are my favorite as we spend hours talking, laughing, learning, and sewing. So many memories are being made as well as skills that will last a lifetime! Thanks for tuning in to the Sew-In with Nathan and Sayley.
Sew-In Family: Nathan (11), Sayley (8), Mom (Ashley, The Featherweight Shop Marketing Director)
Supplies:
Cinnaberry by 3 Sisters for Moda Fabric
Pattern, Miss Rosies Quilt Co. Cake Mix Recipe #4
Aurfil Thread - Dove Grey
Featherweight Thread Post
Featherweight Accurate Seam Guide
Glass Head Pins
It is so exciting to see the hard work finally starting to take shape, especially when Christmas is right around the corner! With the festive red and white fabric, we can't help but turn on the holiday music and light the fire as we sew on our sashing strips!
In just learning how to quilt, there are so many unique terms to the quilting process. The fabric strips sewn around and in between each block are called sashing pieces. With young children learning to sew, I was a bit worried that our blocks were going to be too uneven to measure up properly, so when I asked April about our plan of action to finish off the top of the quilt, she mentioned coping strips as an option, too. Coping strips allow for a margin of error and would give us some "wiggle room", so-to-speak, if needed. This is such a novel concept, especially when just starting out! Here's a link to a great tutorial for uneven blocks needing an extra margin.
Upon review of our photos, however, April affirmed that we didn't need coping strips after all, and that our sashing strips would be proceeding in the normal process of quilt construction. Yaaaay! I was very excited! Although, considering that I'm sewing with kids and the nature of this crazy year, we had fun calling them "coping" strips, because we are certainly "coping" with 2020!
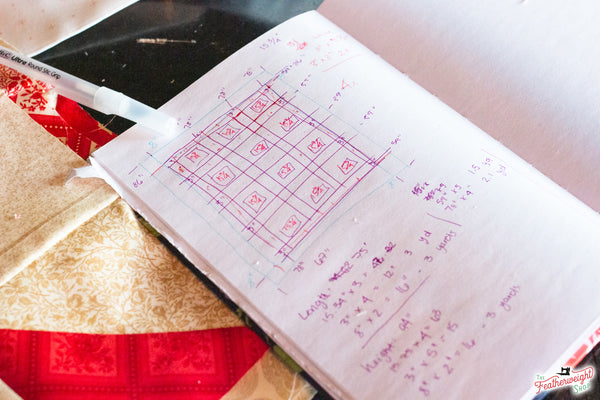
Doing "Quilt Math" as Jamie from The Featherweight Shop loves to call it! (You can read more about Jamie and her famous Texas Big Mouth Cookies here.)

After we came up with our plan of 3-inch white fabric strips to sash each of our finished blocks (three across by four down) the kids and I set to work cutting them out. My, oh my, there are so many strips to cut! In addition to the strips, we also needed to have our 3-inch by 3-inch squares to use as our "joints", or technically called, cornerstones.

Once our strips were ready, the kids wanted to make sure our blocks were nice and clean and free of any stray threads, ready to have the strips attached. They found out that all the little threads can cause jams, and they do NOT want to deal with that again!


Before trimming all the blocks, we pressed them one more time to make sure we were getting an accurate measurement! We trimmed down the edges just a little, creating 15 1/2" x 15 1/2" blocks.
Now it was time to start attaching all those beautiful white sashing strips! The kids started pinning on the 3" x 15 1/2" strips to the sides of the blocks, ready to get down to business. The first few strips went off without a hitch, and they were quite excited with their progress.


Then, the dreaded seam ripper came out! Sayley sewed the square to the wrong seam, and ended up "un-sewing" for the next thirty minutes. She was not a happy camper!
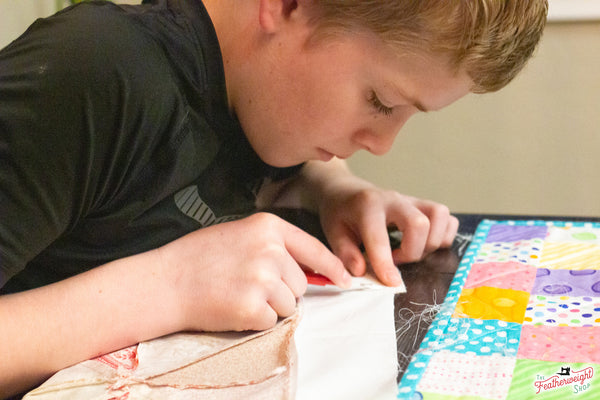
Nathan was so sweet, he could not handle seeing his little sister struggle so much that he offered to finish ripping out the seam, and she could sew his strip. What a good big brother he is!


 Sew-In at Home: A Holiday Quilt Adorned with "Coping" [Sashing] Strips

