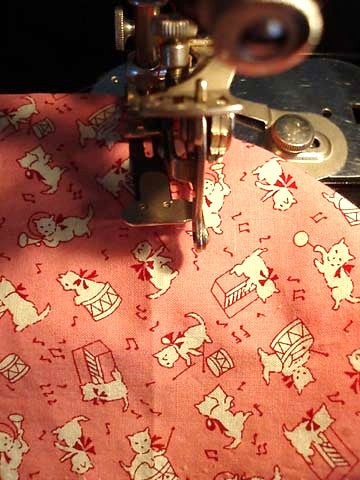
The vintage Singer Shirring Plate is a unique item to add to your collection. Used in conjunction with your Ruffler, this helps to add depth to your ruffle stitching - allowing you to make rows or deep ruffled hems, if you so choose. Ordinarily, with the basic Ruffler Attachment, you can only do the "edge" of the fabric. Well, by adjusting the Ruffler and adding this to the bed of your machine - it opens up for more "free" ruffling. You can see how this is accomplished in the photos above.
***********************************
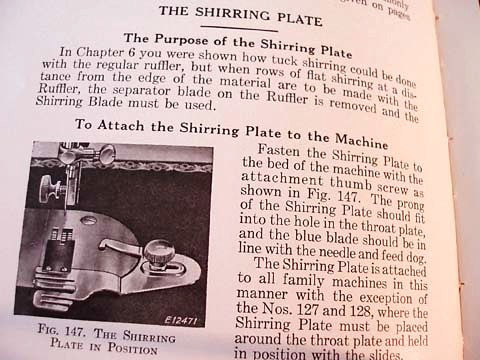
When rows of flat shirring at a distance from the edge of the material are to be made with the Ruffler, the separator blade on the Ruffler is removed and the Shirring Blade must be used.
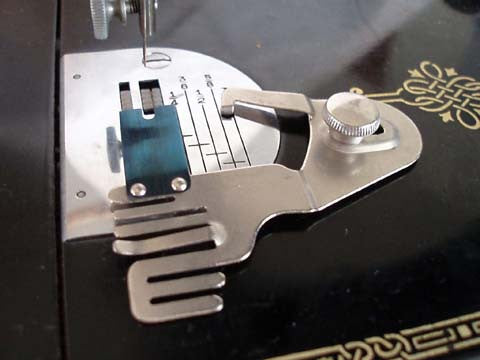
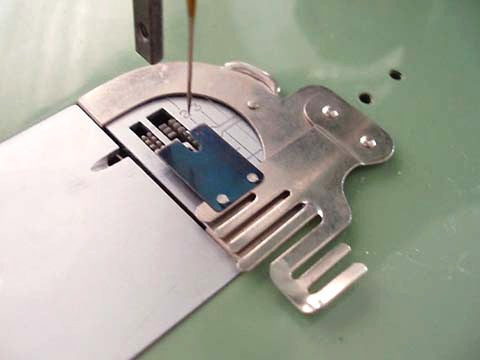
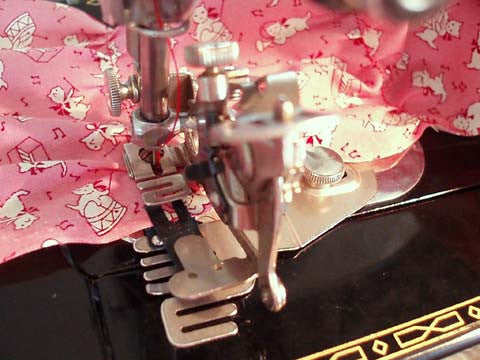
Fasten the Shirring Plate to the bed of the machine with the attachment thumb screw as shown in the photograph. The prong of the Shirring Plate should fit into the hole in the throat plate, and the blue blade should be in line with the needle and feed dog.
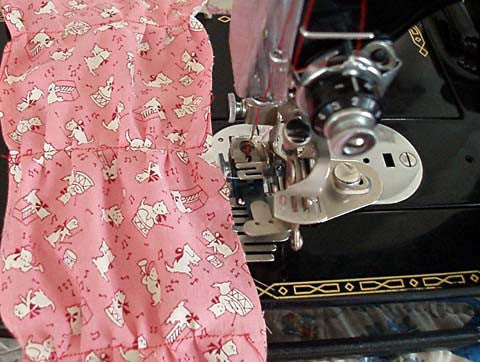
To Prepare the Ruffler for Shirring -- Remove the separator blade from the Ruffler by loosening the screw at the right side of the attachment sufficiently to release separator blade holder to which the under blade is attached. Do not remove this screw but loosen it only enough to release the separator. Attach the Ruffler to the machine in the usual manner and you will note that it is now possible to insert a wide piece of material under the Ruffler from either side.
Preparing the Material for Shirring -- Fold the material where the rows of shirring are desired and press with a warm iron. It will then be possible to follow each crease with the needle to keep the rows of shirring straight.
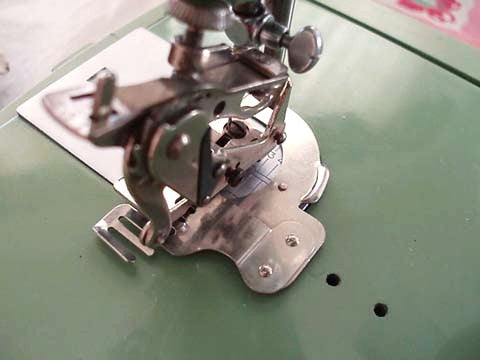
The Ruffler and Shirrer in Operation -- Insert the material to be shirred between the Ruffler and the Shirring Plate, lower the presser bar and sew. It is advisable to test the Ruffler on a small piece of the same material that you desire to shirr in order to make the proper adjustment of the Ruffler and the stitch for fullness. Shirring may be done with a loose upper tension if you desire to slide the gathers on the thread to fit a certain space.