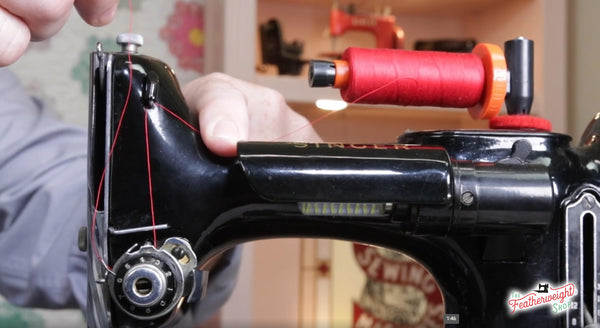
Learning to identify the thread path following a routine servicing and maintenance will help diagnose initial stitch tension inconsistencies and give confidence about learning to service a Singer Featherweight further.
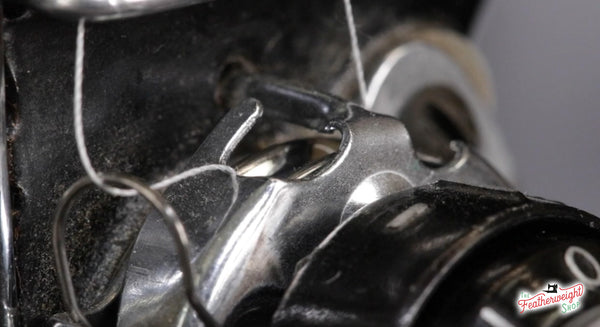
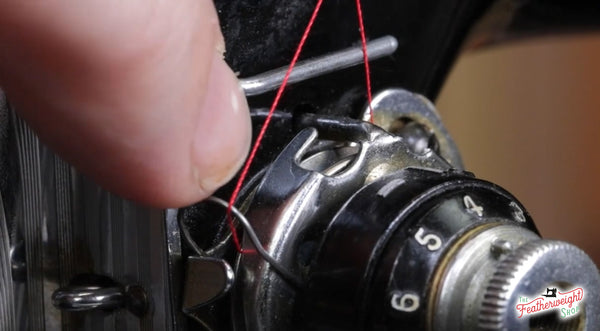
Comparatively, this threaded machine will have stitch troubles:
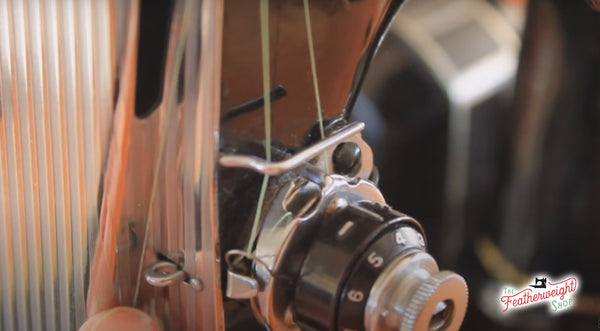
At first glance, it may appear that they are threaded the same. But, as you can see when comparing the photos, the thread has missed the retaining fork in the threading process. Making a quick adjustment when threading the machine will help to avoid this common error.
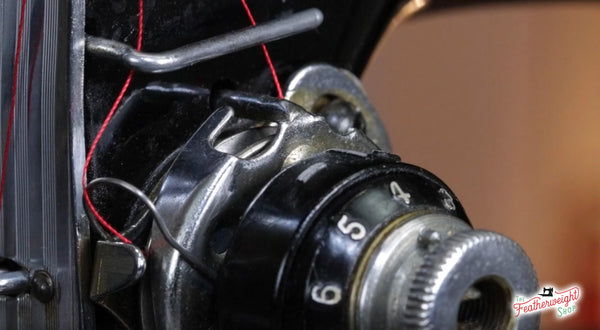
Making Sure the Tension Unit is Properly Threaded
First, when the presser foot is lifted, the tension unit spring is compressed which loosens the tension disks. This allows the thread to easily pass between the two discs when threading the machine. After passing the thread over the top thread guide, the thread goes down, slips between the discs and follows around around to the other side of the tension unit.
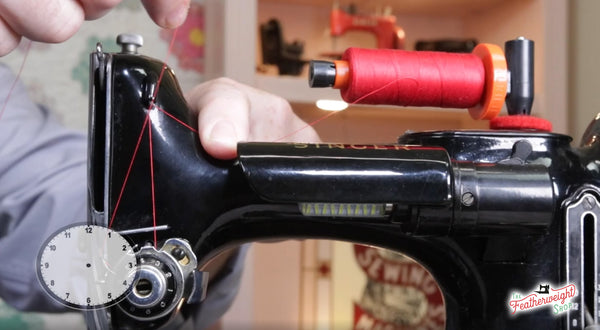
When the thread follows around to the other side of the tension unit, it needs to be pulled taut to about the one o’clock position. To do this, press the thread in place against the machine, just above the upper thread guide. This puts resistance on the thread as it’s coming off the thread spool or cone.
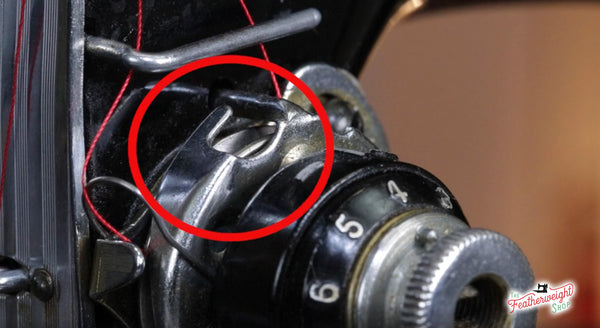
Without the thread inserted all the way between the two tension discs, insufficient tension on the thread will result. This causes tension inconsistencies and erratic stitches. So, after bringing the thread down and through the disks on the right side, use your finger to press the thread up against the machine and bring the thread up to the 1 o’clock position. The thread will then have enough tension to pull through the discs completely and drop into the retaining fork.
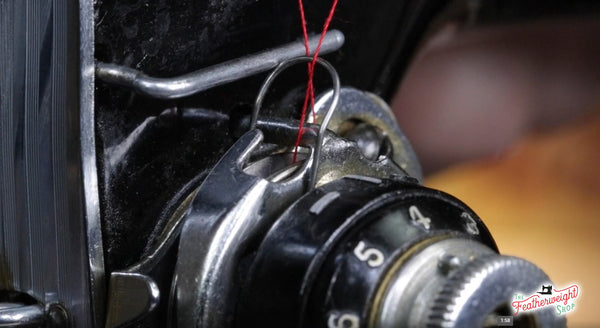
Lift the thread up, which will in turn raise the take-up spring.
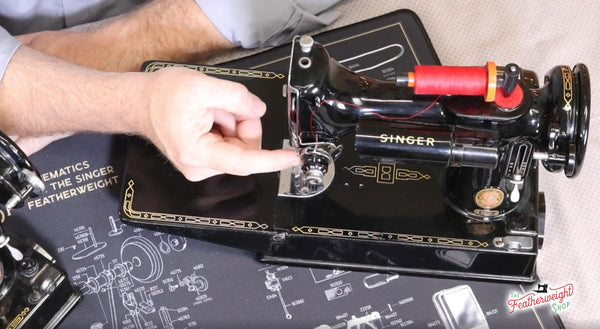
Continue on with threading the rest of the machine following Ruthie's Threading a Singer Featherweight video tutorial and your Singer Featherweight will be ready to sew!


 Tension Unit Proper Threading