The Thread Stand now has a threading hole in the base of the stand, which prevents the thread from slipping, keeping the thread more secure to the upper thread guide.
Moreover, the Thread Stand is best for using large bulk spools or thread cones.
Turn the Thread Stand to the back of the machine, with the cone of thread placed in a mug as shown in these photos.
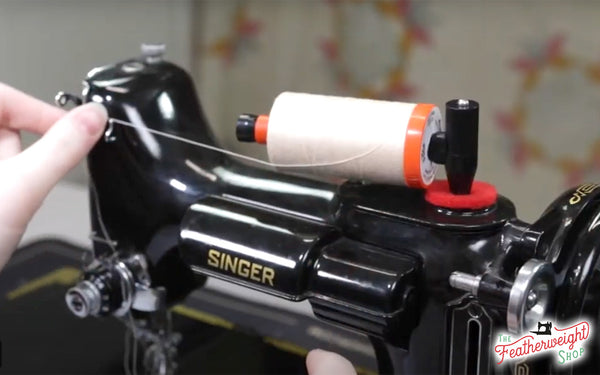
UPDATE: For the more common crosswound spools, like Aurifil Thread, we now recommend and use the new Thread Post.
Using the Thread Post, the thread is easily placed in the proper horizontal position on the machine, allowing for the smoothest flow of the thread to the needle.
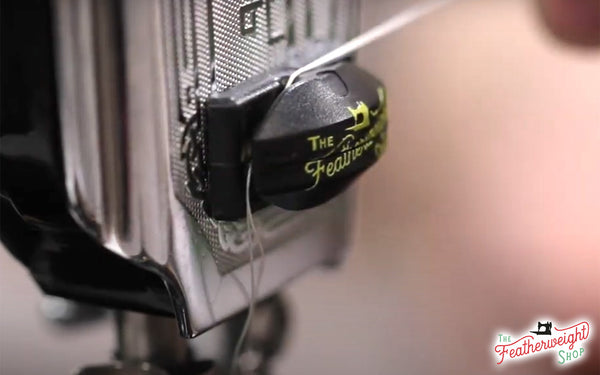
Place the thread on the post, securing it with the smallest cap, then commence threading to the first thread guide.
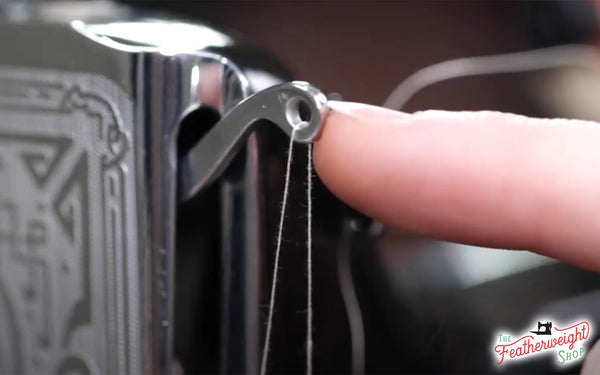
On some Featherweights, if this upper thread guide sticks out a little bit too far, put the little tab (included with the Thread Post) on the top of the guide to keep the thread from slipping out when sewing fast or winding a bobbin. NOTE: It is not necessary to push the tab all the way on the guide -- just enough to prevent the thread from slipping out.
Continue threading the machine as illustrated in Part 4 of this series.
With the needle threaded, hold the end of the thread in your left hand, leaving a little bit of slack from the hand to the needle.
Turn the handwheel towards you until the needle moves down and up again to its highest point, and the bobbin thread is caught.
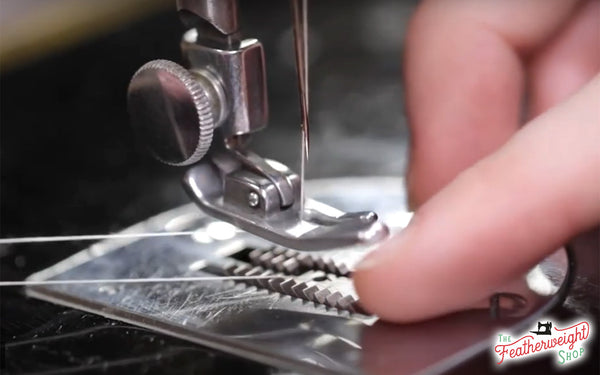
Draw up the needle thread, by very gently pulling it with your hand, and the bobbin thread comes up with it through the hole in the throat plate.
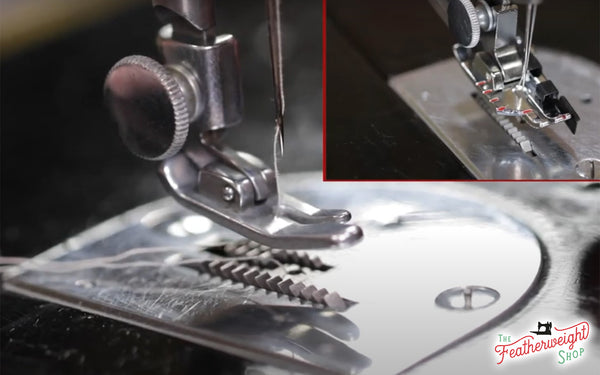
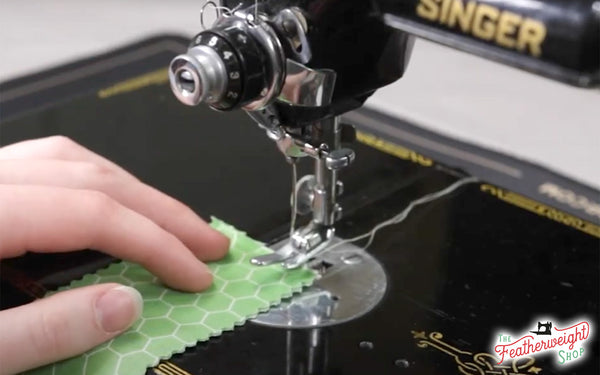
The needle thread needs placed between the two toes on the presser foot, or if you have a quarter inch foot, through the slot, and under the foot. Lay both threads back under the presser foot diagonally across the feed dogs.
To begin your first stitch, or to practice a few stitches before you begin your sewing project, place two pieces of fabric together, aligning the seam edges, and place them under the presser foot.
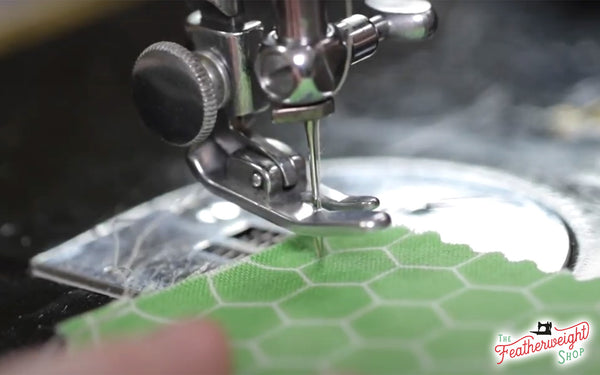
The manual instructs you to the lower the presser foot first, but lowering the needle first is best for the following reasons:
Know where to begin sewing exactly.
It locks the thread tails in position
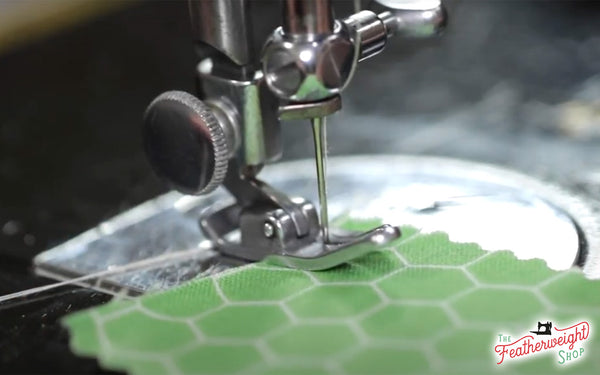
Keeps the thread from slipping out of the needle when starting a seam
To start sewing, hold your thread tails, and enjoy practicing some first stitches on your Singer Featherweight.
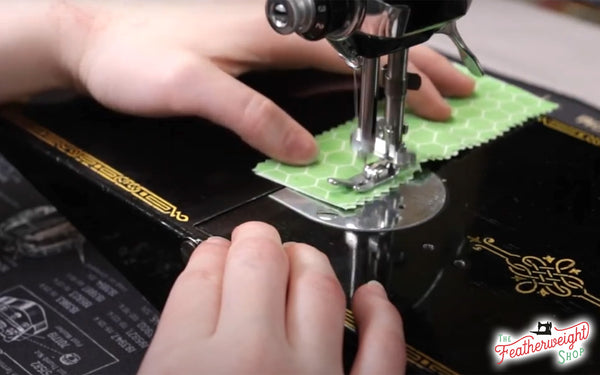
Whenever you are finished sewing, and it is time to remove the fabric from under your presser foot and needle, you will want to always stop your machine with the thread take-up lever in its highest position.
Raise the presser foot and draw the fabric back and to the left.
Snip the thread tails either with scissors or pass the threads over the thread cutter, and pull down lightly to sever them.
Leave the ends of the threads under the presser foot, so you are all ready for your next seam!
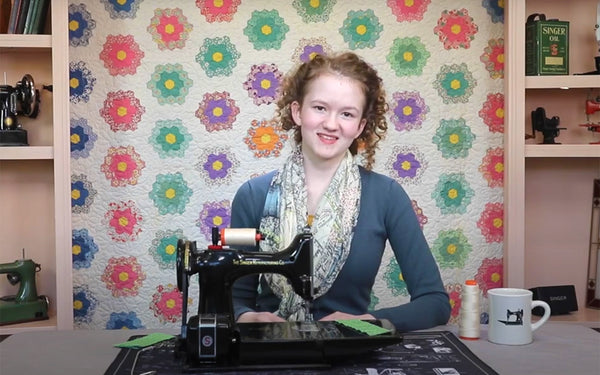
Your featherweight is now ready to commence sewing! With just a couple more tutorials, we will have covered all the basic information for you to Get To Know Your Singer Featherweight.


 Prepare For Sewing (Getting To Know Your Featherweight, Part 5)