


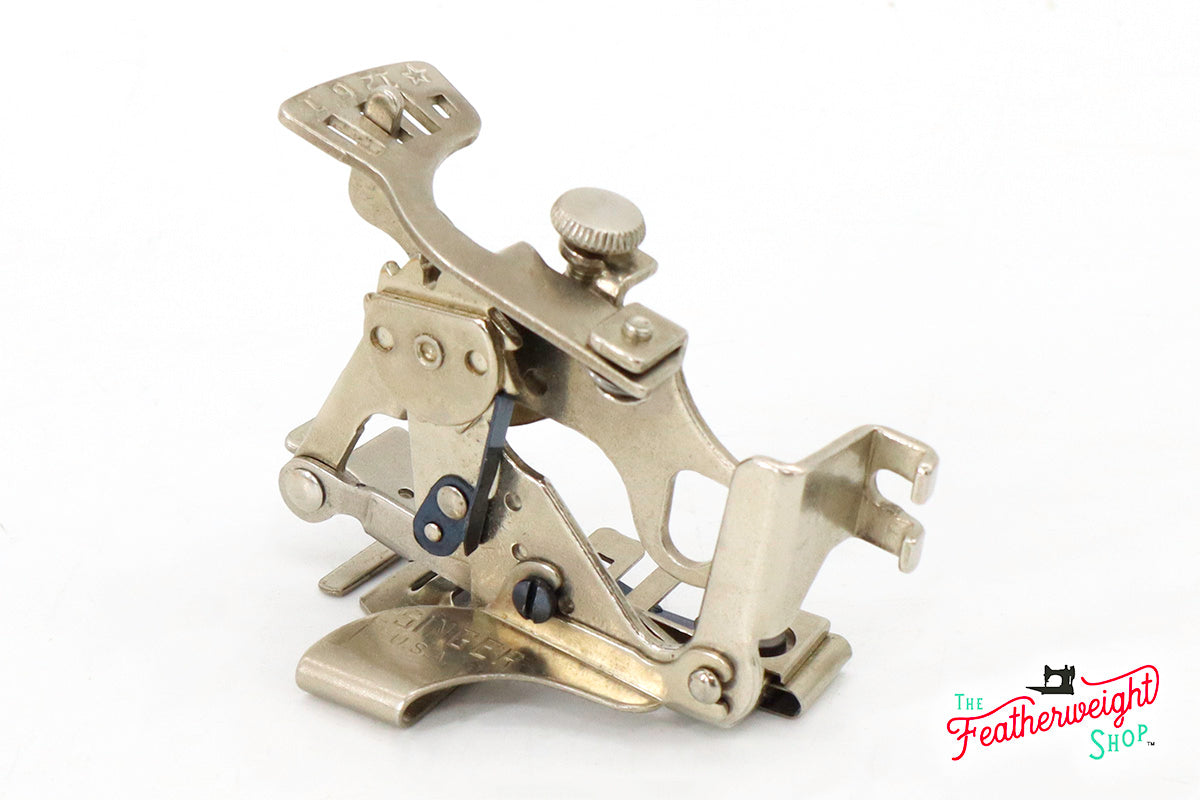
Ruffler Gathering Attachment, Singer (Vintage Original)
This item will earn you 59 POINTS in Sewciety Rewards.
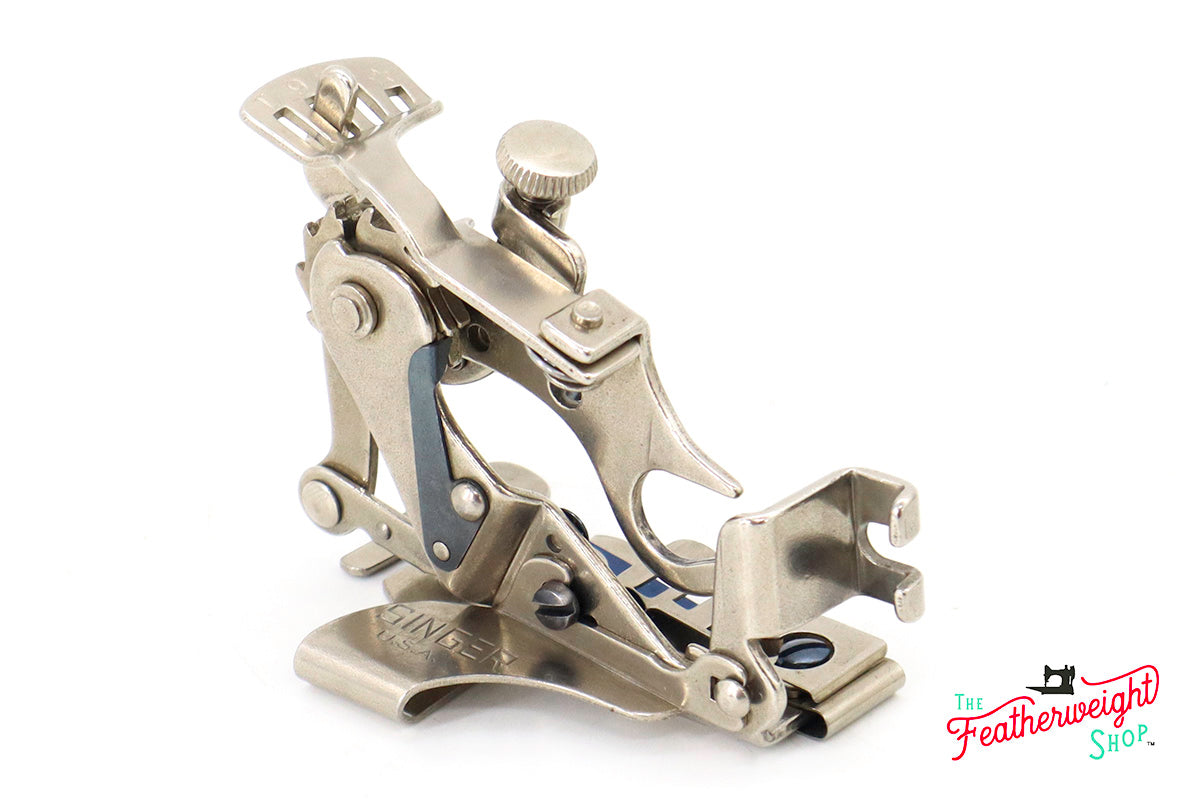
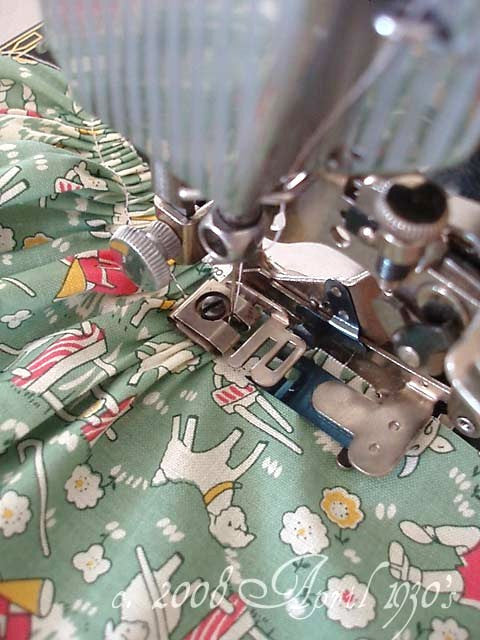
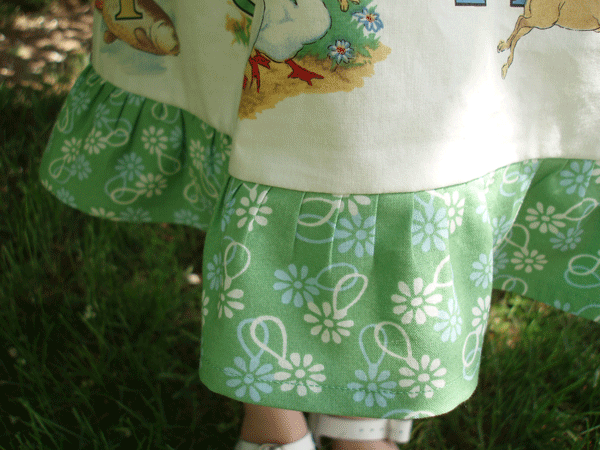
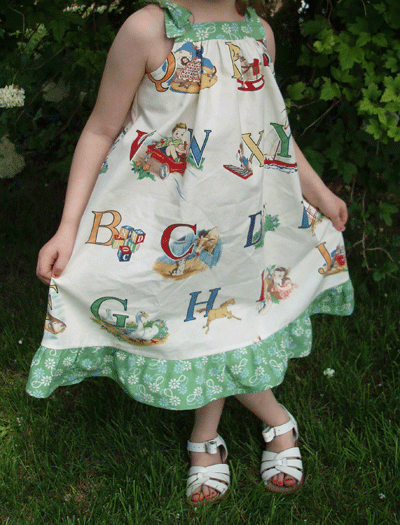
This original vintage Singer Ruffler Attachment is an engineering marvel! Ruffling, Gathering, Plaiting, Puffed Ribbon, Rosettes, and more can all be accomplished using the vintage Singer Ruffler - still, after all these years, the best quality money can buy.
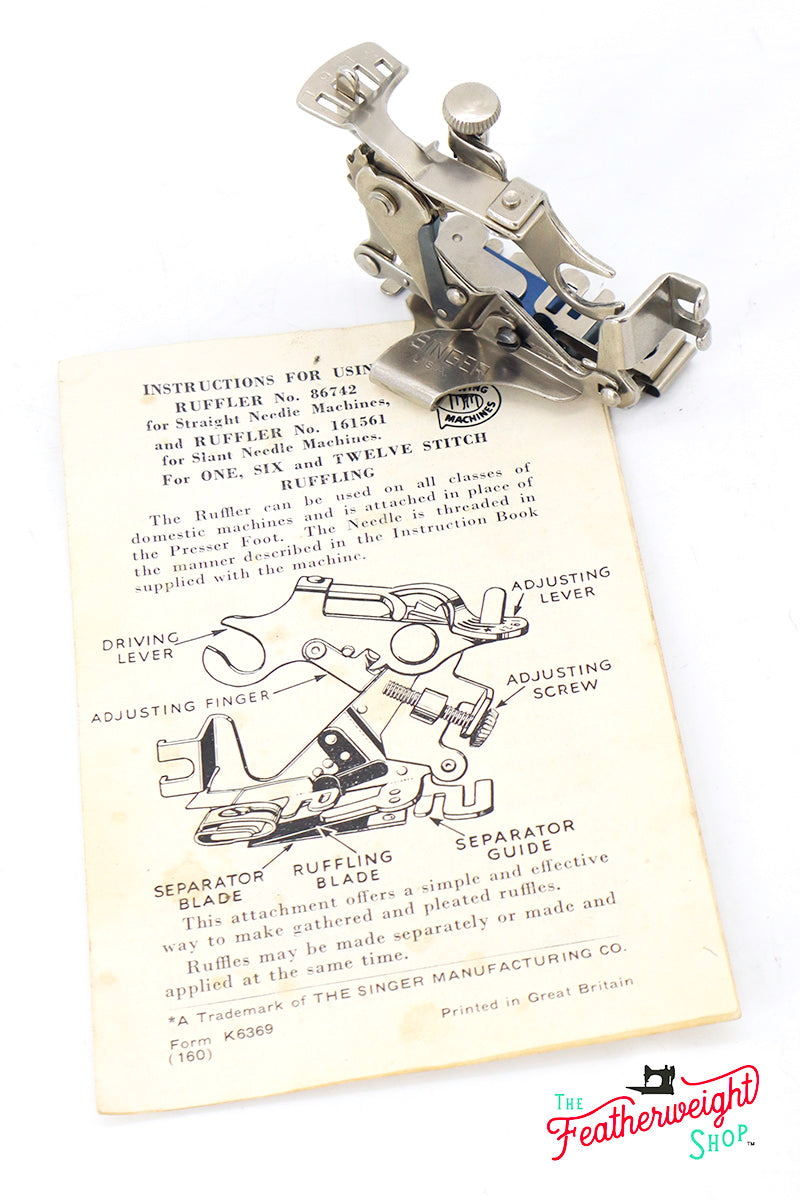
Click here for instructions on how to use the Ruffler.
LOW SHANK: fits the Singer Featherweight 221, 222K and all low, vertical shank Sewing Machines (i.e. 15, 27, 28, 66, 99, 185, 127, 128, 192, 201, 206, 237, 306, 319, 320, 328, as well as many other brands besides Singer)
SLANT SHANK: fits all SLANT shank Singer Sewing Machines (i.e. 301, 301A, 401, 401A, 403, 500, 503, 600 & 700 Series and all other Slant Needle Singer Models)
Ruffler Gathering Attachment, Singer (Vintage Original)
Sale price$ 19.95
Regular price
Quick View
Ruffler Gathering Attachment, Singer (Vintage Original)
Sale price$ 19.95
Regular price