
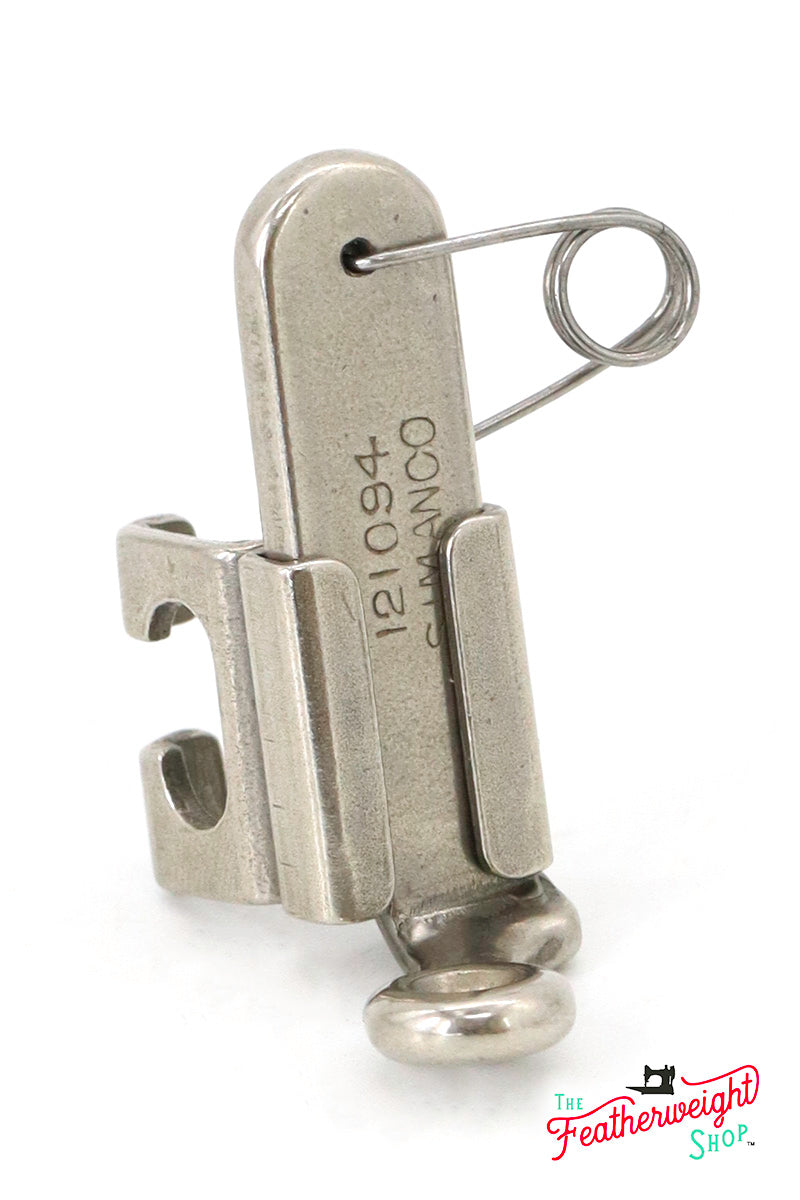


Singer Featherweight Embroidery & Darning Foot (Vintage Original)
This little original Singer embroidery & darning attachment is a fun vintage accessory to collect for the Singer Featherweight - especially for free-motion embroidery & darning.
With the right instruction, feed-dogs covered or lowered, and the appropriate embroidery/darning attachment, Machine Embroidery can range from the 'Practical' (darning) to the 'Artistic' (embroidery)!
You can start out simple because everything, as you know, takes practice. But, before you can start at all, you will certainly need this Embroidery/Darning Attachment to help you.
Take note of the following before you begin:
#1 ~ Attach a feed dog cover plate or put your feed dogs in neutral. (Raising the stitch regulator so that it sticks straight out or parallel to the floor will cause your feed dogs to neither go forward or backward and stitch in a stationary position.) Beginners usually find it easier to just cover the feed dogs.
#2 ~ Attach the foot to the machine using your regular thumb screw. The coiled spring allows you to raise and lower the foot to place your work underneath it. This is not a "hopping" foot like modern embroidery foot, but rather the foot is adjustable to the thickness of your work. Simply attach the foot and slide the foot up or down. You want it to be as low as possible yet still leave allow enough clearance so that you can move your work back and forth freely. (It should not rest tightly to the fabric.)
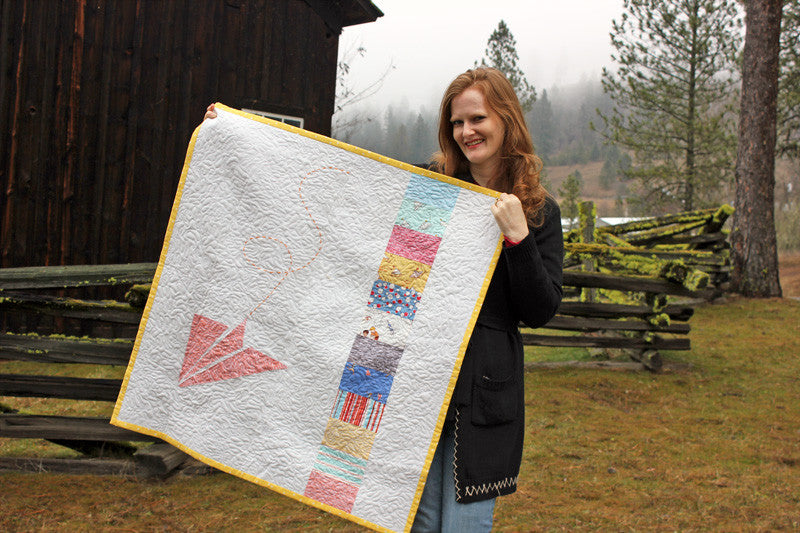
#3 ~ Using a small quilt sandwich, begin practicing your free-motion work. Yes, you can most certainly do free-motion work on your Featherweight, however, for long projects or quilts, be sure to give your motor a cool-down rest, staggering your sewing times. For example, I made a baby quilt and I quilted it in quarter time allotments allowing my motor to completely cool in between.
#4 ~ Having a tube of motor lubricant is wise, too, because as the motor heats up it will wick the grease, lubricating the appropriate parts inside the motor.
Red-Work, Blue-Work, Green-Work, or what-ever-color suits your fancy are going to have an entirely different meaning with the ability to embroider it on your machine. Remember the old-fashioned friendship quilts? Take your finished quilt squares to a bridal shower and have all in the wedding party sign them in pencil or water-erasable fabric ink. Then follow their signature with your Embroidery Attachment - what a unique gift to present the bride! Or even as a baby gift, you could use a vintage iron on transfer with the oh-so-darling prints and patterns from yesteryear and embroider a Nursery-Rhyme Quilt. My mother has one (which I hope to inherit someday) and it is one of her most-treasured possessions.
Really and truly, with a little practice, you'll be able to follow a signature in no time at all. I watched a good friend of mine do it after just a couple samples of her own name. She finished an entire baby quilt with signatures from a baby shower.
We recommend the 4" or 6" embroidery hoop for use on the Singer Featherweight 221. Anything larger is going to run into the motor area.
Click here for instructions on how to use the Embroidery & Darning Foot.
LOW SHANK: fits the Singer Featherweight 221 & 222K and all low, vertical shank Sewing Machines (i.e. 15, 27, 28, 66, 99, 185, 127, 128, 192, 201, etc.).
Embroidery Plate & Hoop are not included, but you can order them here and here.
Quick View